Fossil Collecting for Beginners
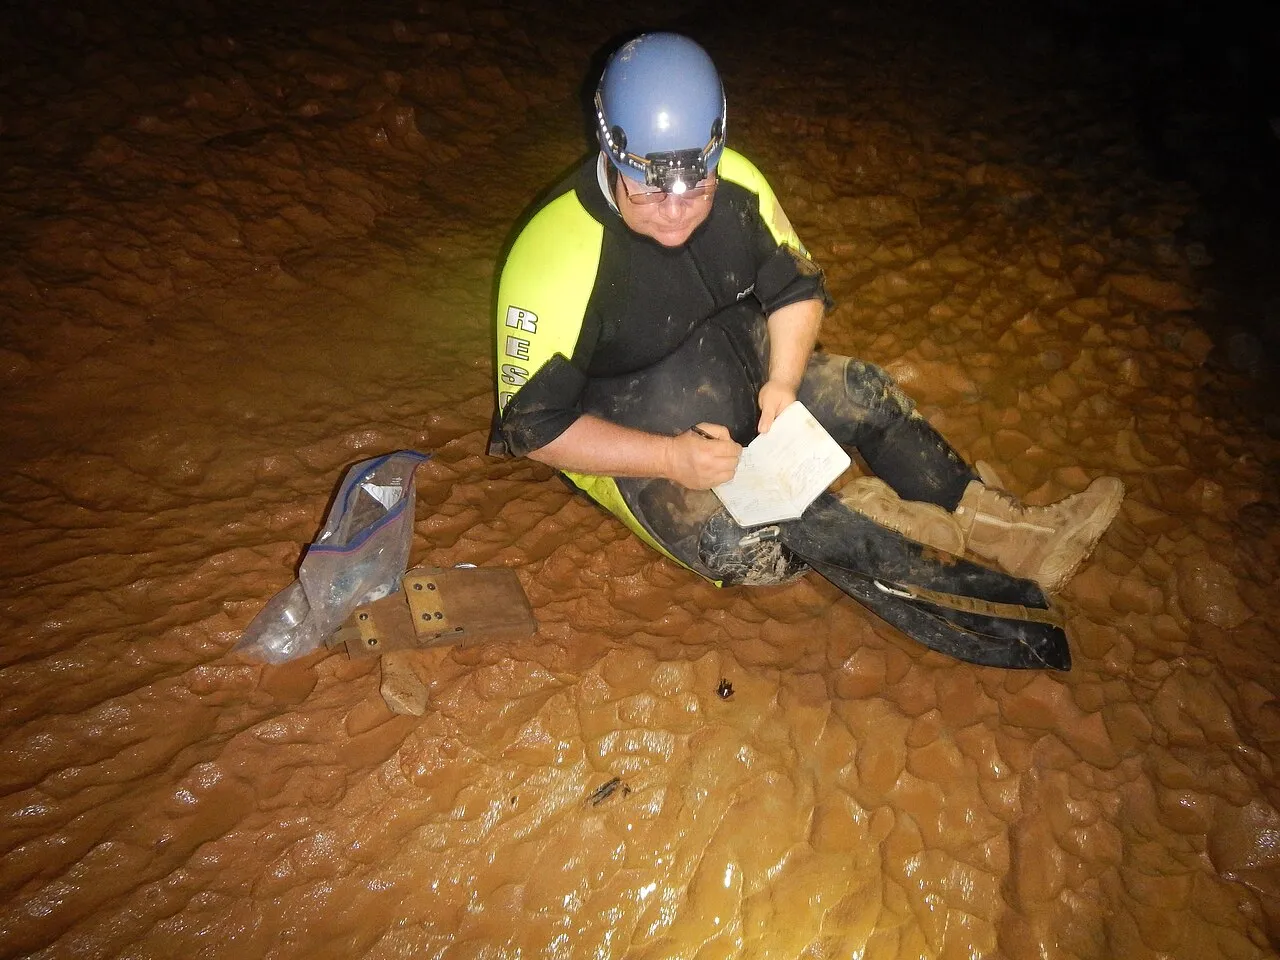
You don’t need a geology degree or expensive equipment to find fossils. With a little knowledge about where to look and what to look for, anyone can start finding ancient treasures.
What Are Fossils?
Fossils are the preserved remains or traces of ancient organisms — animals, plants, and other life forms that lived thousands to billions of years ago. They form when organisms are buried in sediment and, over time, minerals replace the original organic material or create impressions in rock.
Common types include:
- Body fossils — actual preserved remains: shells, bones, teeth, leaves
- Trace fossils — evidence of activity: footprints, burrows, coprolites (fossilized dung)
- Molds and casts — impressions left by organisms in rock
- Petrified remains — original material replaced by minerals (like petrified wood)
Where to Find Fossils
Fossils are found in sedimentary rock — rock formed from layers of compressed sediment like sand, mud, and silt. Look for:
- Creek beds and river banks — water erosion constantly exposes fresh fossils
- Road cuts — highway construction slices through rock layers
- Beaches — wave action washes fossils from eroding cliffs
- Quarries and construction sites — (with permission)
- Designated fossil parks — several exist across the US specifically for public collecting
Not all rock has fossils. Igneous rock (from volcanoes) and most metamorphic rock (transformed by heat and pressure) rarely contain fossils. You want sedimentary rock — limestone, shale, sandstone, and mudstone.
Use our state-by-state guides to find specific collecting sites near you.
Essential Gear
You don’t need much to get started. Here’s the minimum:
Must-Have (under $50 total)
- Rock hammer or geology pick — for splitting rock along bedding planes. The Estwing E3-22P is the standard recommendation.
- Safety glasses — absolutely essential when hammering rock. Flying chips can cause eye injuries.
- Hand lens (10x loupe) — for examining small details. A Belomo 10x is excellent.
- Newspaper or bubble wrap — for wrapping finds to prevent damage on the trip home.
- Field bag or backpack — to carry your tools and finds.
Nice to Have
- Cold chisels (various sizes) — for more precise splitting
- Knee pads — you’ll be kneeling on rock
- Field notebook — record what you find and where
- Camera/phone — photograph finds in situ (in place) before removing
- Sieve or classifier screen — essential for creek/river collecting
See our complete gear guides for detailed recommendations at every budget level.
How to Actually Find Fossils
Step 1: Choose Your Site
Use our state guides to find a collecting site near you. Start with sites rated “beginner” for your first trip.
Step 2: Learn to Read the Rock
When you arrive at a site, look for:
- Exposed bedding planes — flat surfaces where rock layers meet
- Weathered surfaces — rain and frost break rock and expose fossils
- Loose material — gravel bars, talus slopes, and eroded debris often contain fossils already freed from the rock
- Color and texture changes — fossils often weather differently from the surrounding rock
Step 3: Look Before You Hammer
Scan the ground first. Many fossils are already weathered out and lying on the surface. Walk slowly, look carefully, and train your eye to spot shapes and textures that don’t match the surrounding rock.
Step 4: Split Rock Carefully
If you’re working on exposed bedrock:
- Look for natural cracks and bedding planes
- Insert your chisel into a crack and tap gently
- Rock often splits cleanly along bedding planes, revealing fossils on the surfaces
- Work patiently — rushing breaks specimens
Step 5: Document Your Finds
Good collectors record:
- Location (GPS coordinates if possible)
- Formation/rock type — what kind of rock was it in?
- Orientation — which way was it facing in the rock?
- Photo in situ — before removing it
This information makes your collection scientifically valuable, not just pretty.
Is It Legal?
The short answer: it depends on where you are and what you find.
Key rules:
- Private land: Always get permission from the landowner. Fossils belong to whoever owns the land.
- Federal land (BLM, National Forests): Casual collecting of common invertebrate and plant fossils is allowed. Vertebrate fossils (bones, teeth from animals with backbones) always require a permit.
- National Parks: No collecting. Ever. Zero tolerance.
- State parks: Rules vary by state. Some allow it, some don’t.
Read our complete Legal Guide to Fossil Collecting for detailed, state-by-state information.
What Did I Find?
Identifying your first fossil is one of the most exciting moments in the hobby. Start with our Visual Fossil Identification Guide, which covers the most common types with photos.
The most frequently found fossils for beginners are:
- Brachiopods — look like clam shells but aren’t. Extremely common in limestone.
- Crinoid stems — disc-shaped segments, like tiny Cheerios made of stone.
- Bryozoans — lacy or branching colonial animals. Very common, often overlooked.
- Horn corals — cone-shaped solitary corals. Unmistakable once you know them.
- Shark teeth — if you’re near coastal or river sites, these are common finds.
Next Steps
- Pick a state and go — Use our state guides to find your nearest site
- Join a club — Local fossil clubs organize group trips and can teach you enormously. We list clubs on every state page.
- Start simple — Your first trip doesn’t need to be ambitious. Even an hour at a good creek bed can yield great finds.
- Learn the geology — Understanding geological formations and time periods makes you a dramatically better collector.
- Share your finds — Communities on Reddit (r/fossils, r/fossilid) and Facebook are welcoming to beginners and happy to help with identification.